
Your first OopBuy haul,
one decision at a time.
Keep the product link, exact variant and order record together. This guide follows the public OopBuy buying tutorial and adds checks for each handover.
What is OopBuy, and where does this site fit?
OopBuy is a shopping and forwarding agent. Its public tutorial describes finding a listing, placing an order, receiving goods at a warehouse and arranging international shipping. This Spreadsheet site helps with discovery and understanding those steps; it does not process an order.
Watch first.
Then follow the details.
The video introduces buying through OopBuy. The seven steps below add the decisions to check along the way, from the original listing to your shipment record.
The video could not load. Use the original video link below.
Open the official video ↗Official buying tutorial. Screens and promotions shown may have changed; check the current options in your account.
Start with a product you can compare
Browse a category or search for a model. Open the seller listing, compare the specifications and save the original URL. Avoid making the purchase depend on a cropped image or a title alone.
View the official interface example
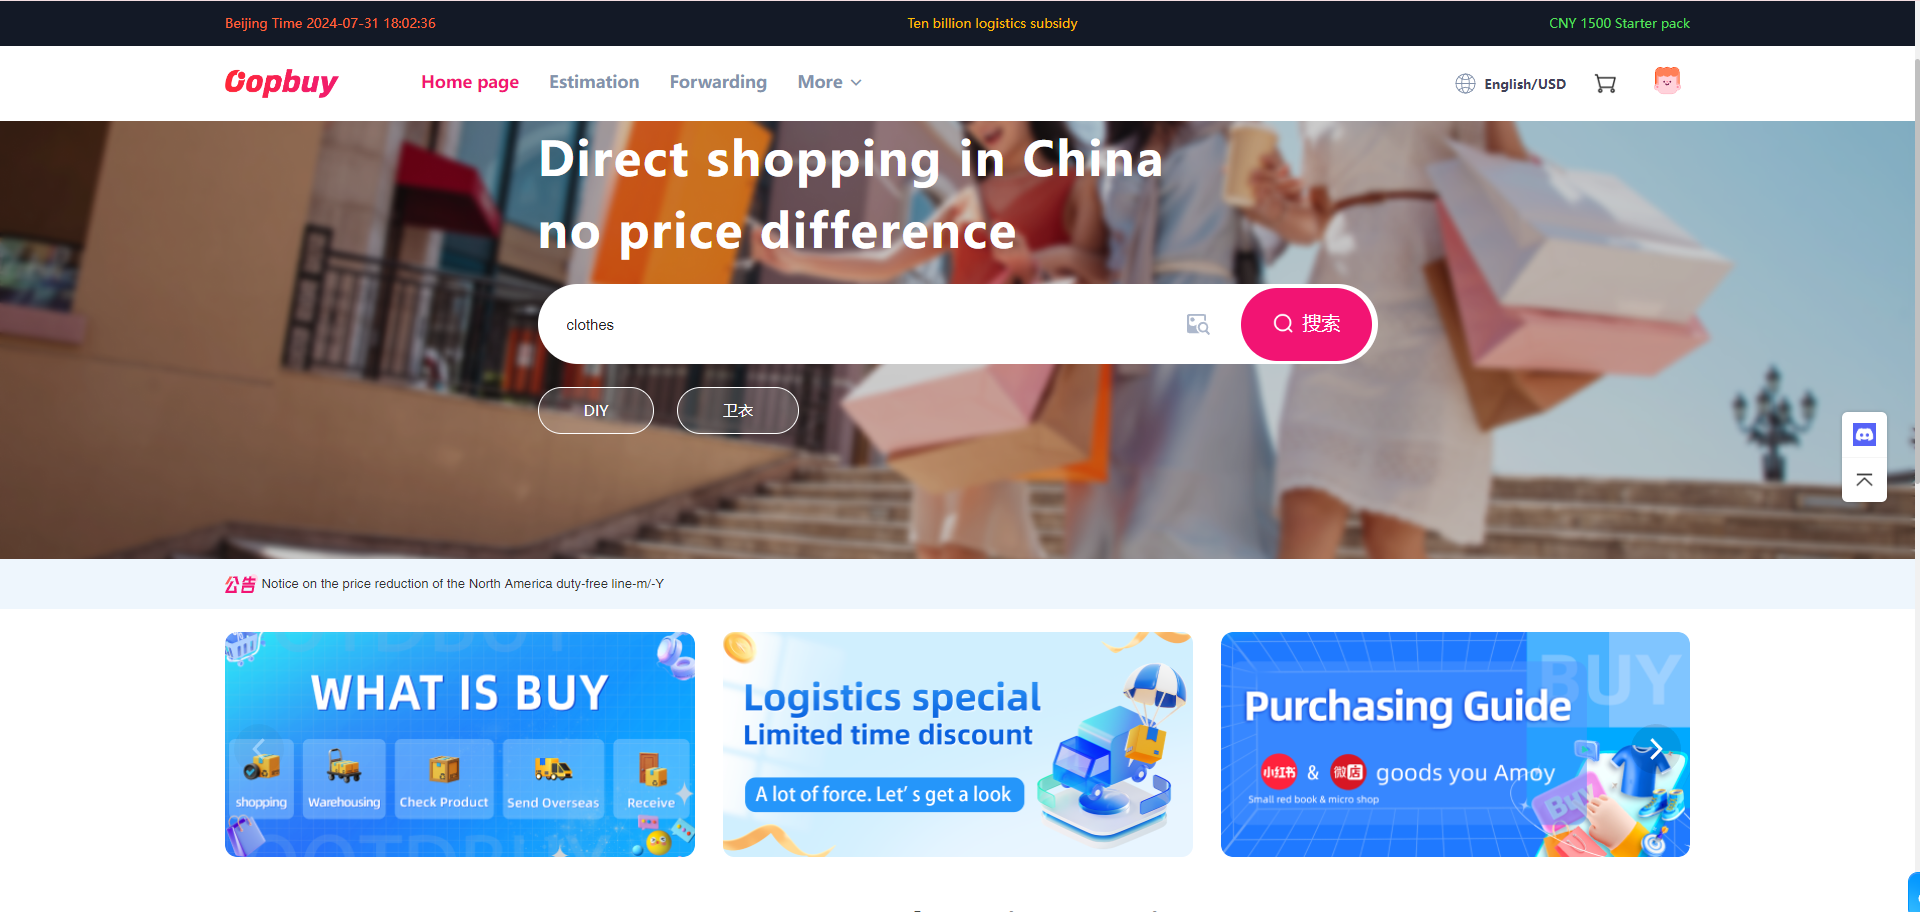
Choose the exact version
Check the color, size, quantity and any variant-dependent price. Use measurements from an item you own. If the listing is ambiguous, resolve it before payment instead of relying on the product title.
View the official interface example
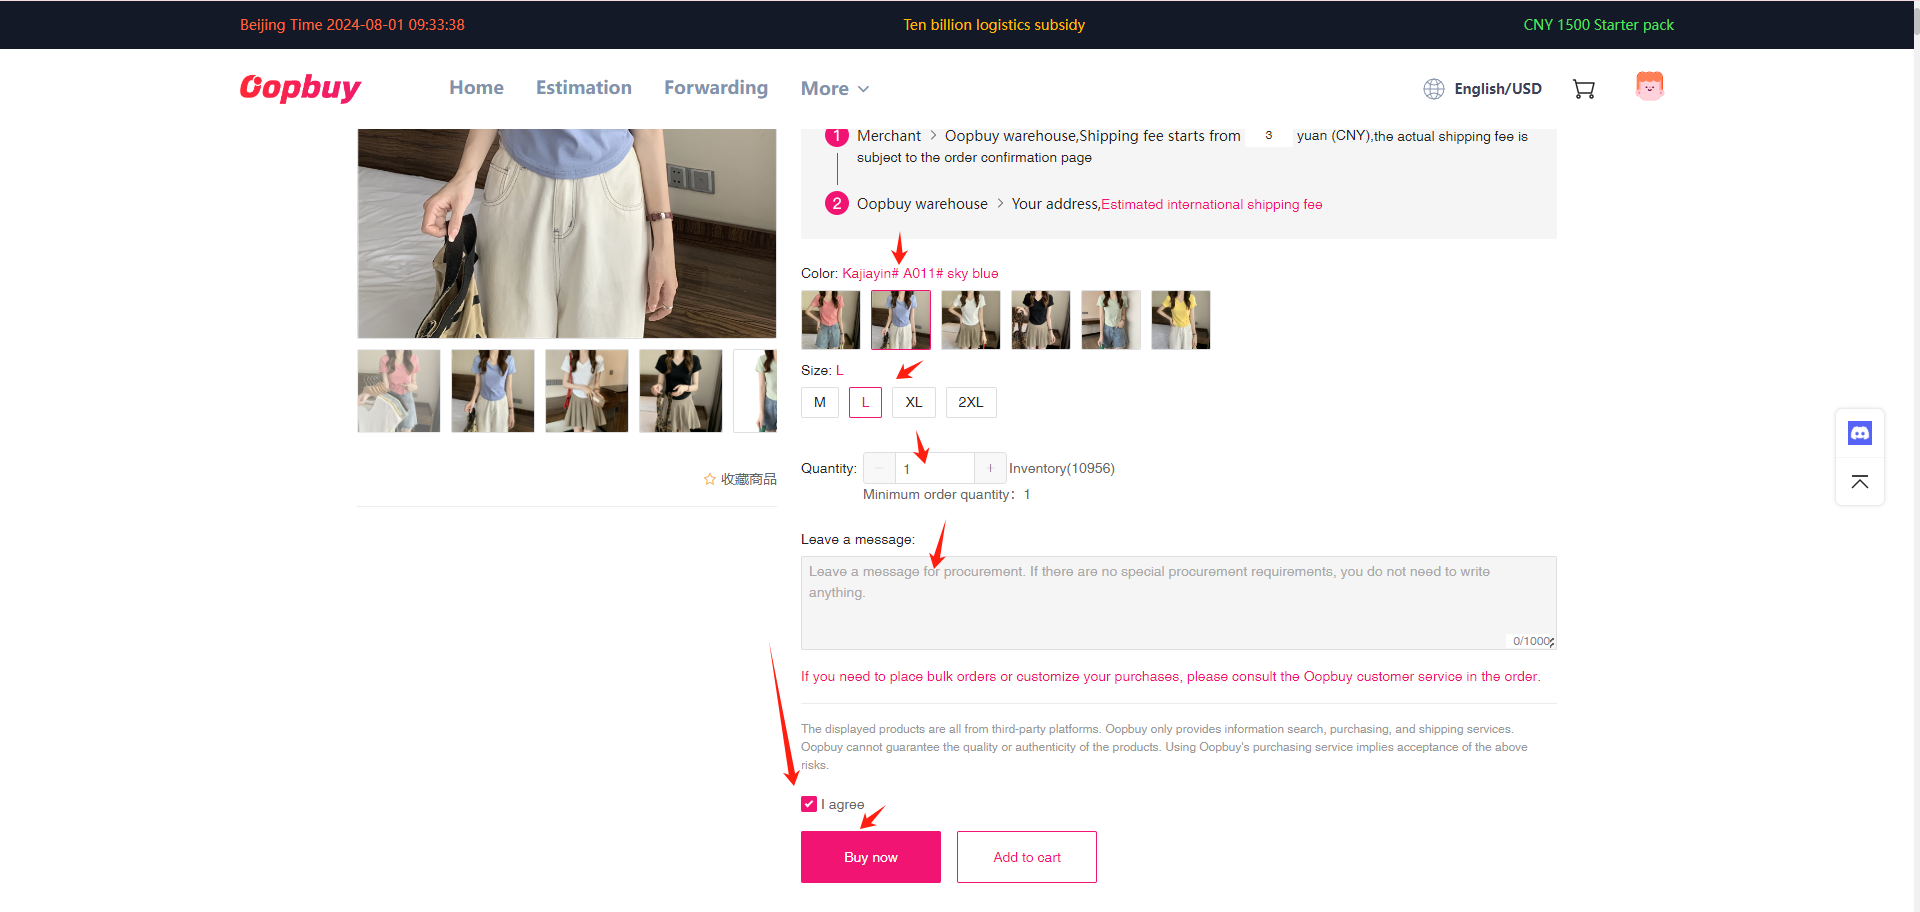
Review the purchase payment
Read the order summary and the current service terms. Save a record of what you selected and paid. The first payment for purchasing goods is separate from arranging their international shipment.
View the official interface example
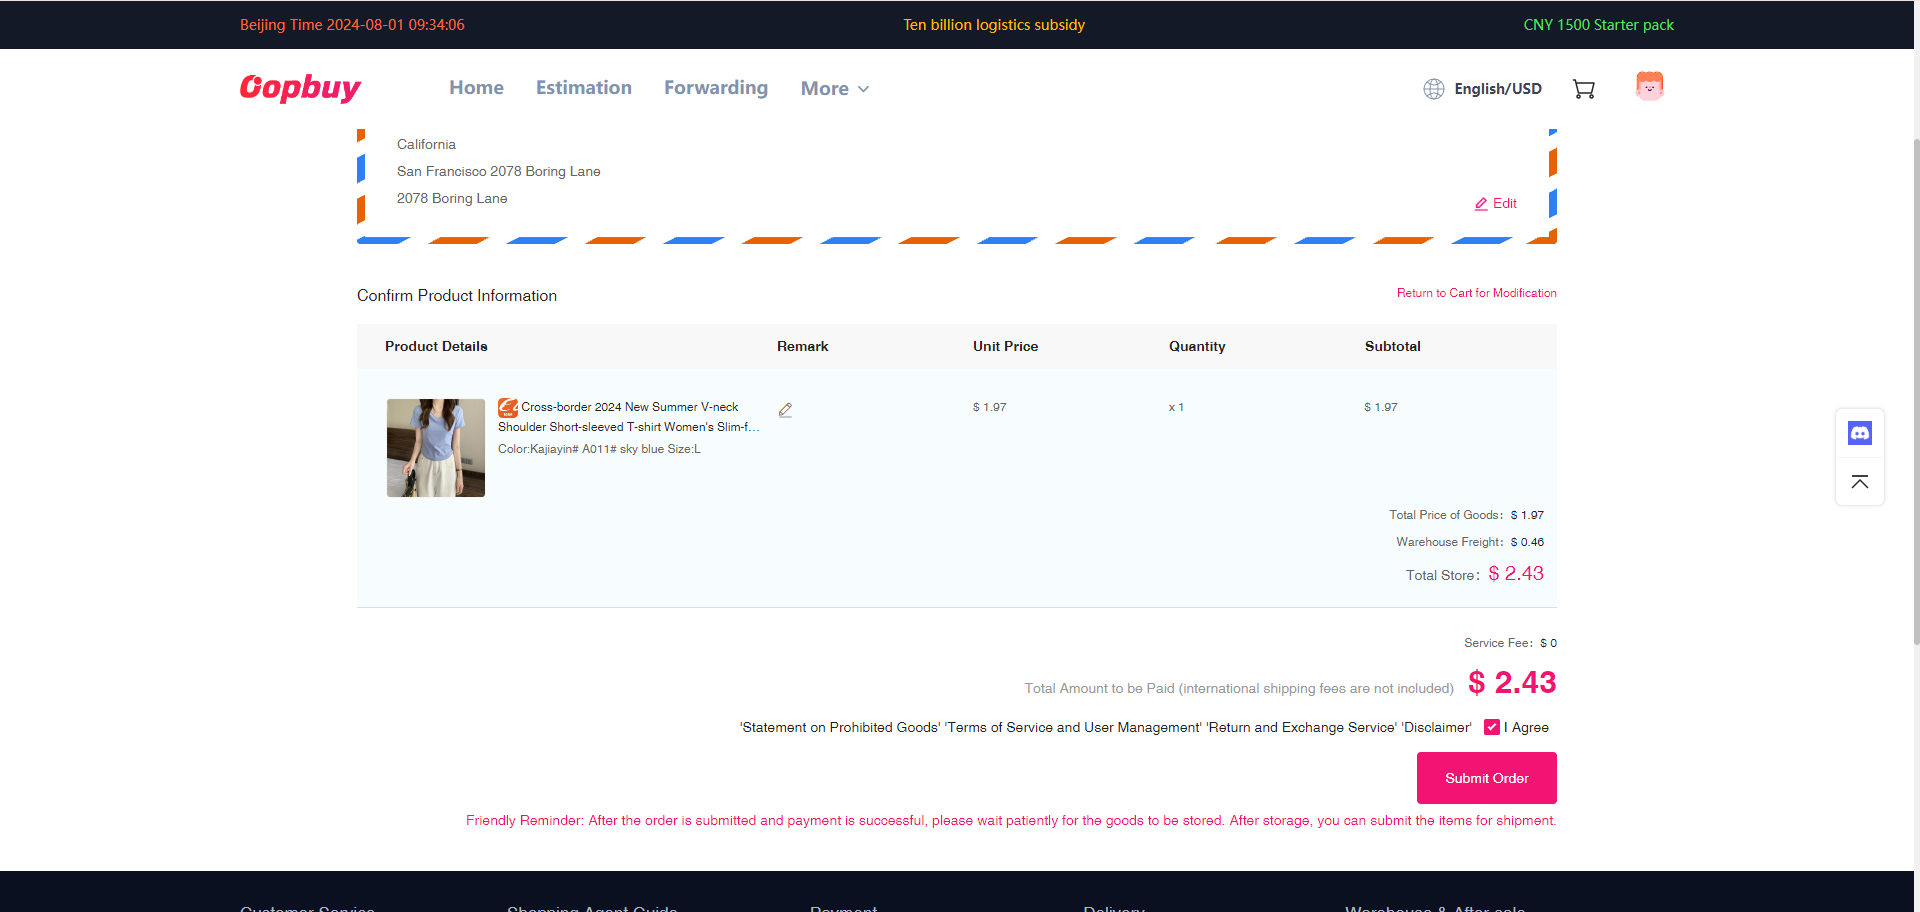
Let the warehouse record catch up
Follow the order status until the item is received. If you plan to combine several purchases, review the availability and storage conditions for each one. Do not assume that every item will arrive together.
View the official interface example
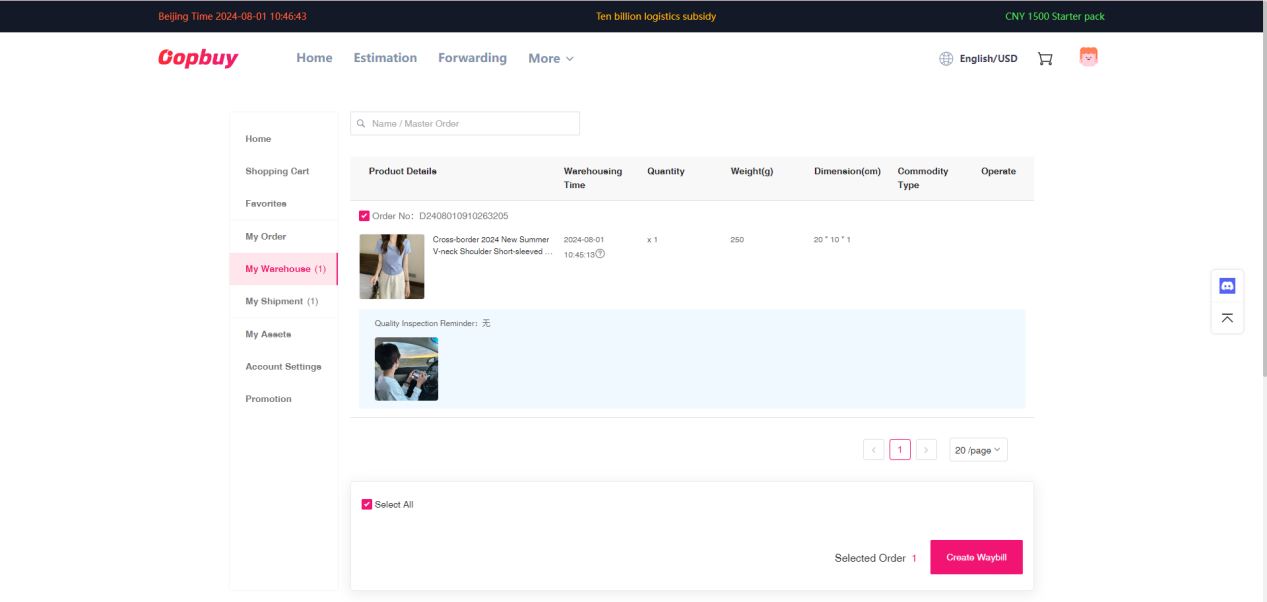
Pause for the actual QC photos.
The warehouse screen tells you an item has arrived. The item photographs are where you check what arrived. Compare the pair, request a missing angle and resolve concerns before requesting shipment.
Look through the QC photo examples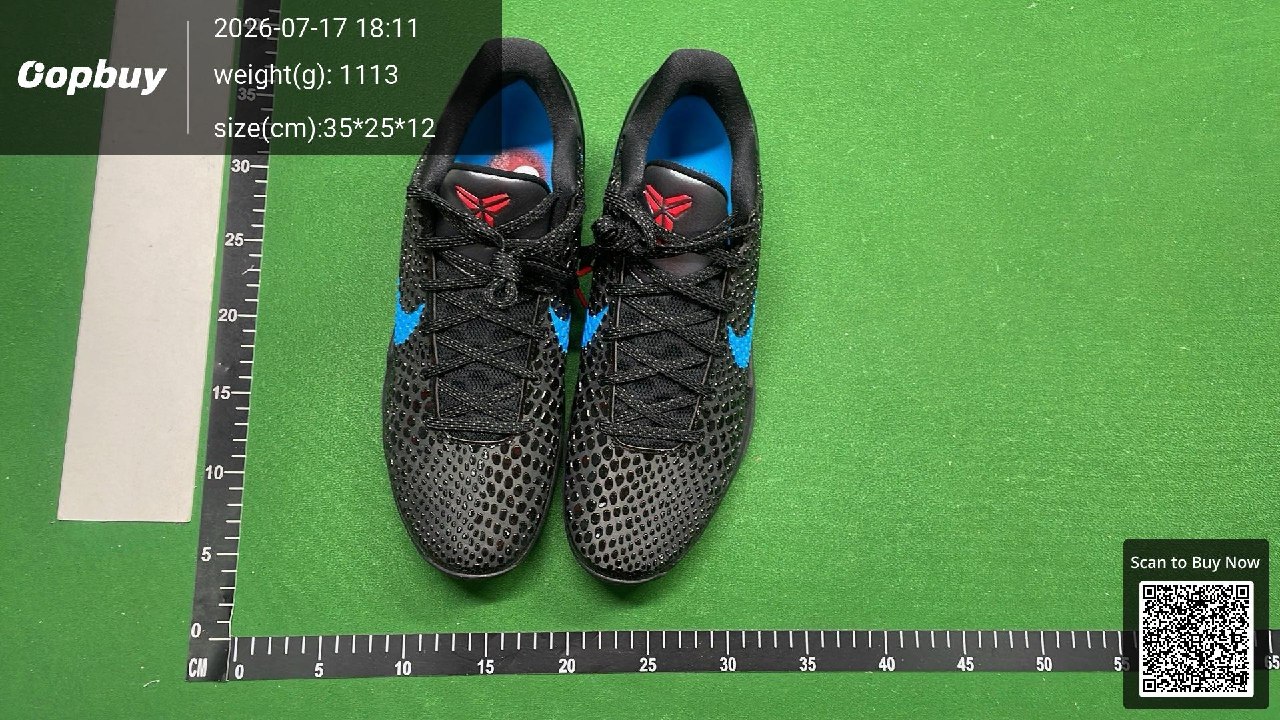
Confirm the parcel and delivery address
After reviewing the items, check the delivery address and the goods included in the shipment request. Read the current route and packing options before submitting the waybill.
View the official interface example
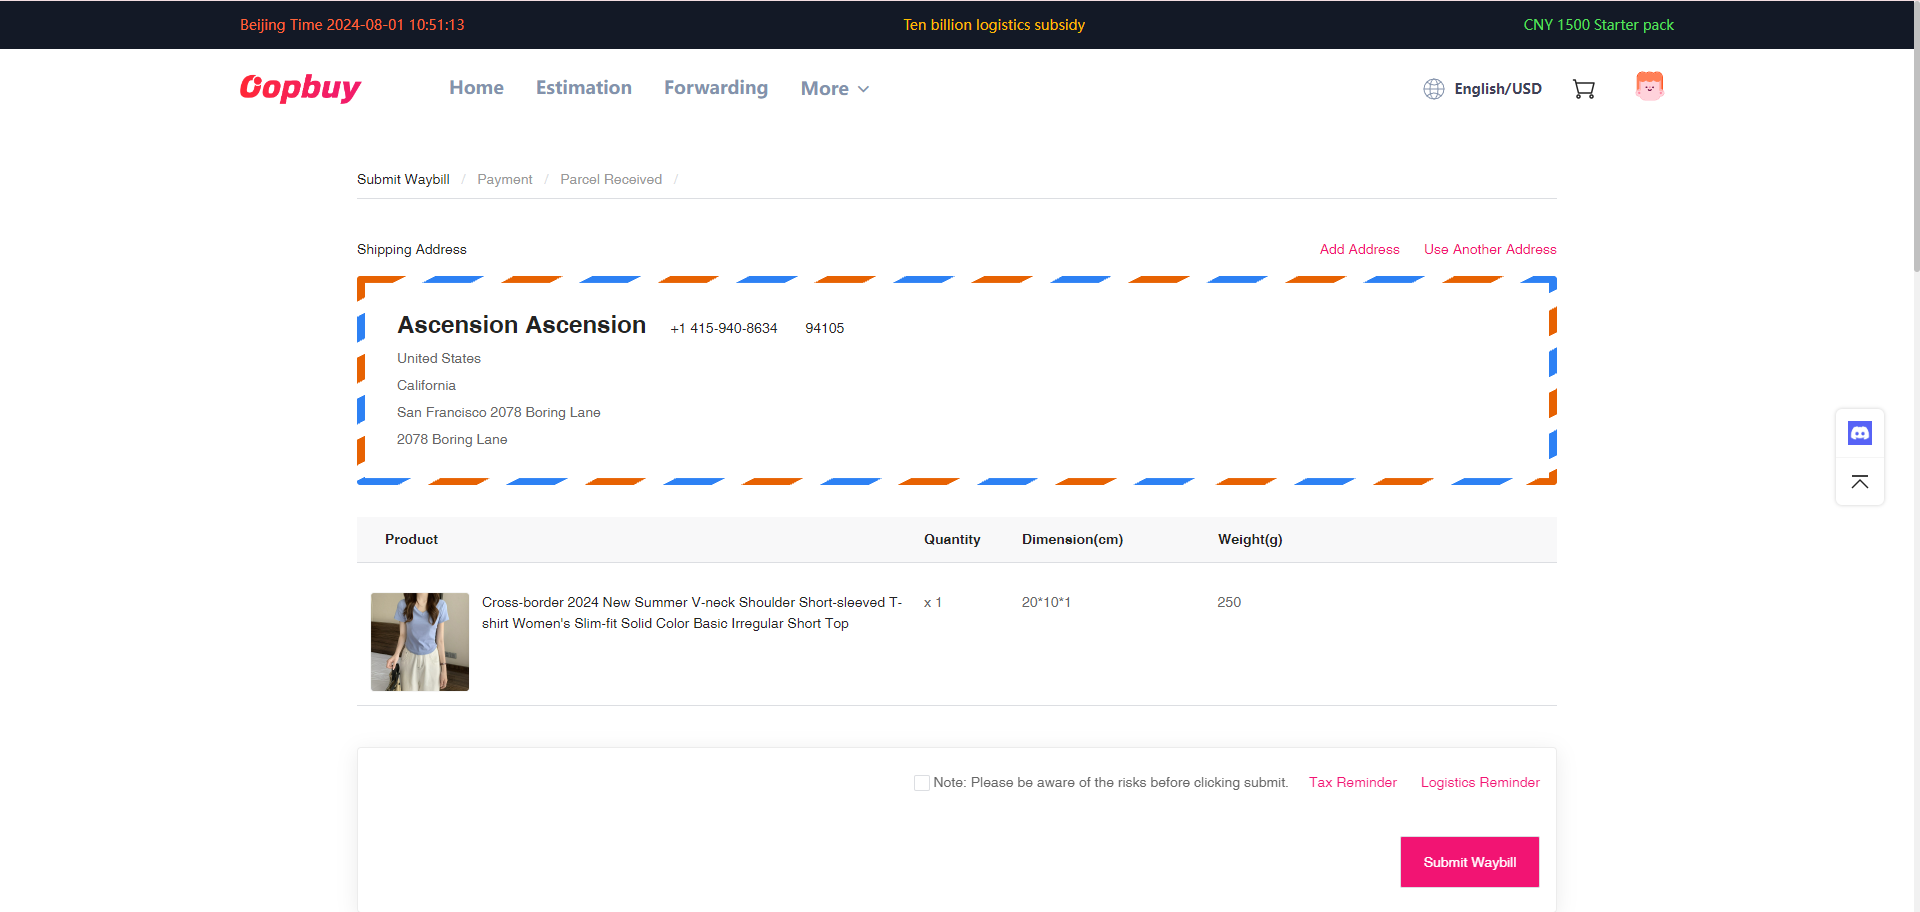
Review the route and final charge
Enter the correct destination, check which routes accept the contents and review packing options. Treat preliminary shipping totals as estimates. OopBuy’s tutorial shows a later settlement step that can require an additional payment or account adjustment.
View the official interface example
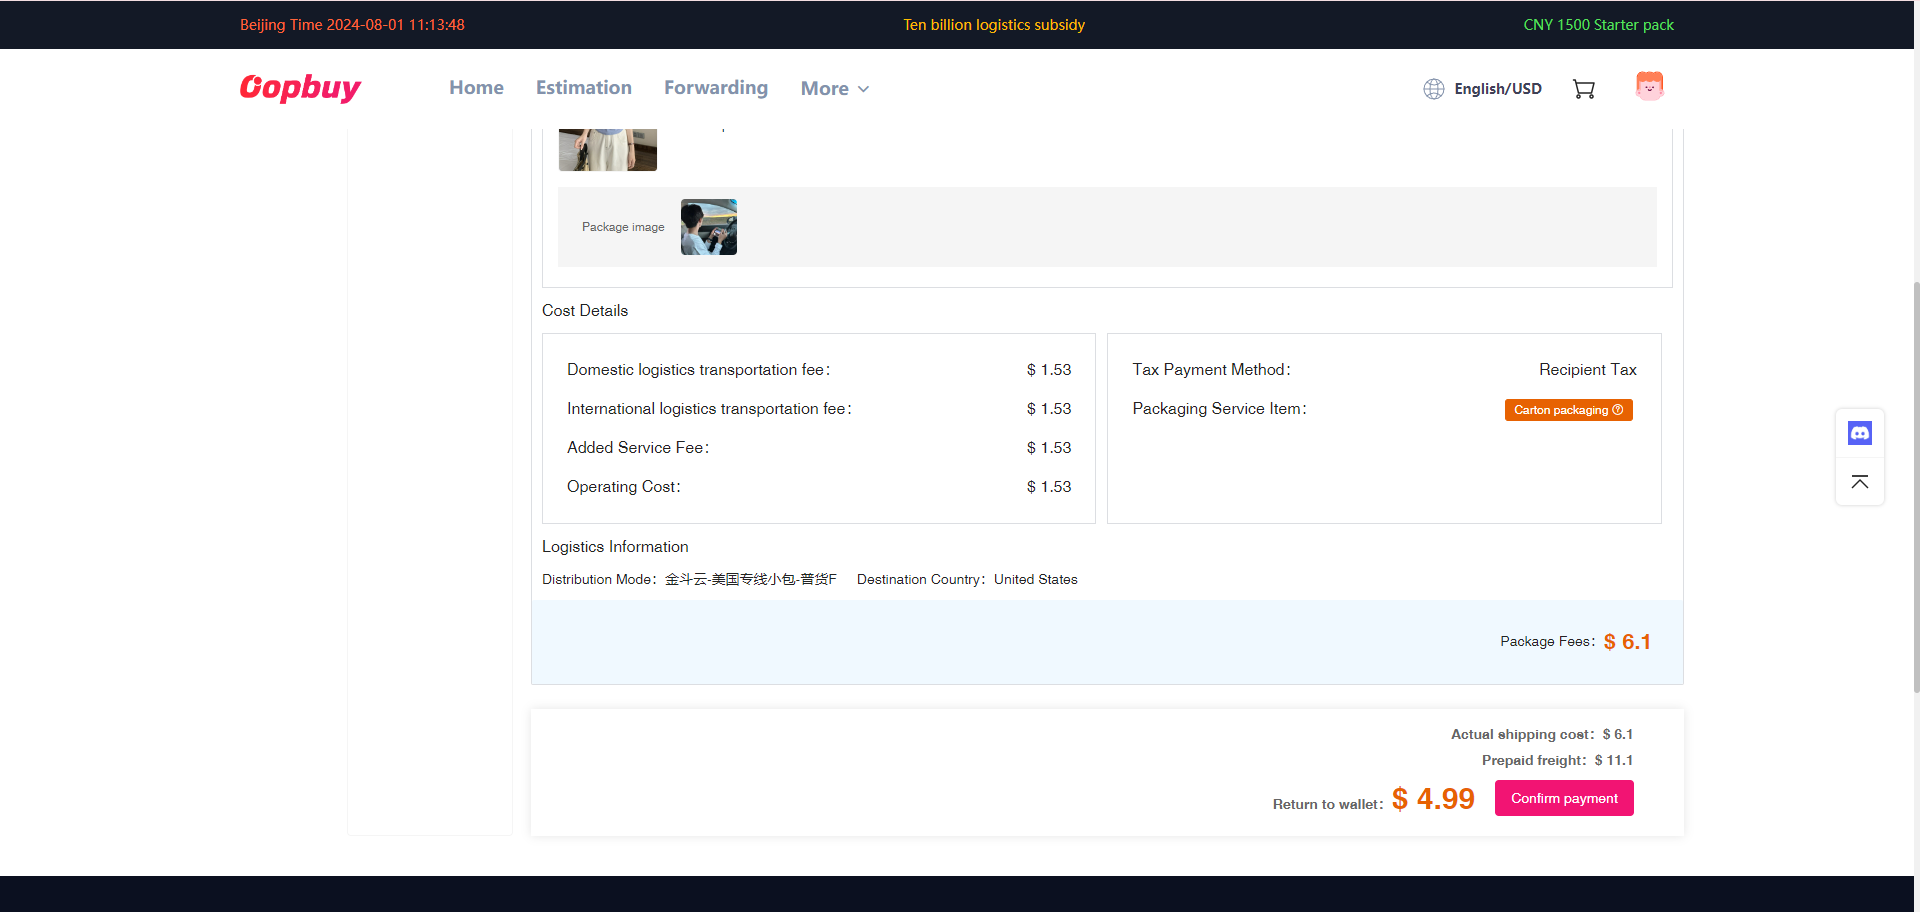
Track delivery and keep the evidence
Use the shipment record once the parcel is dispatched. Keep the tracking number, payment record and relevant item photos. If the parcel arrives with damage or a missing item, retain packaging and follow the current support process.
View the official interface example
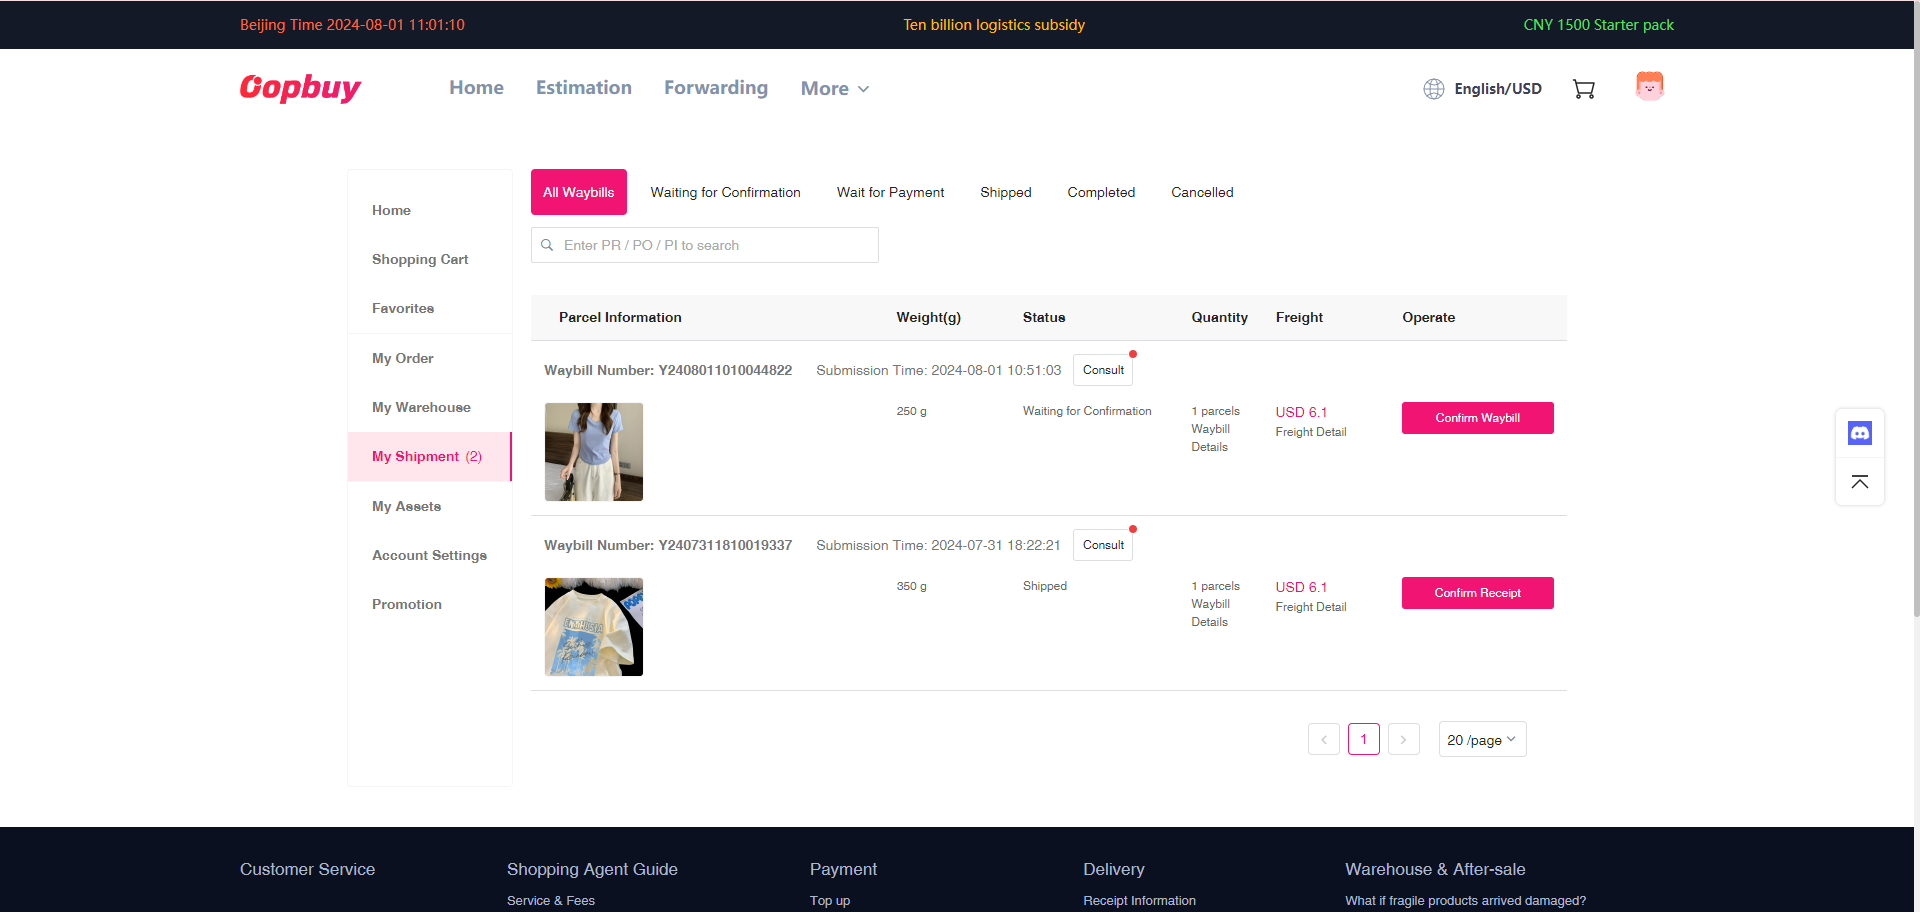
Source checked 23 September 2026: OopBuy’s public buying tutorial. The published screenshots use an older interface; any amounts shown are examples, not current quotes.
Why use OopBuy Haul Spreadsheet?
Most shopping agents sit between the seller and international delivery. OopBuy’s own tutorial makes the warehouse stage visible; that gives you a useful point to stop and inspect before requesting a parcel.
This guide keeps those decisions in order, pairs each stage with the public tutorial and avoids treating a listing as an endorsement. It is useful when you want to understand the handovers before paying.
If the current payment methods, supported goods or available routes do not suit you, compare another agent’s written terms. We do not have evidence that OopBuy is the cheapest, fastest or the right option for every shopper.
Compare an agent on evidence